Decide what object you would like to print. You’ll need to use 3D modeling software like Tinkercad (simple) or Blender/Fusion 360 (more advanced) to create a 3D model of your object. This step can be quite involved and might require some practice if you’re new to 3D modeling. You can find some great starter projects online. See some examples below:
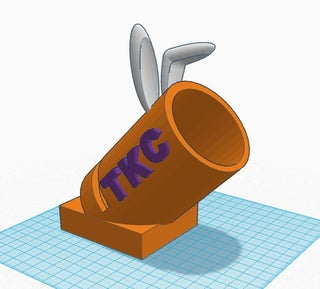
Design a speaker for a mobile phone: (Check size of phone in order to do this properly)
https://www.tinkercad.com/learn/overview/O7MB883IRXTO4QX?collectionId=OSZ5W2BL1W5N51F
https://www.youtube.com/watch?v=yAfps7xaW2U
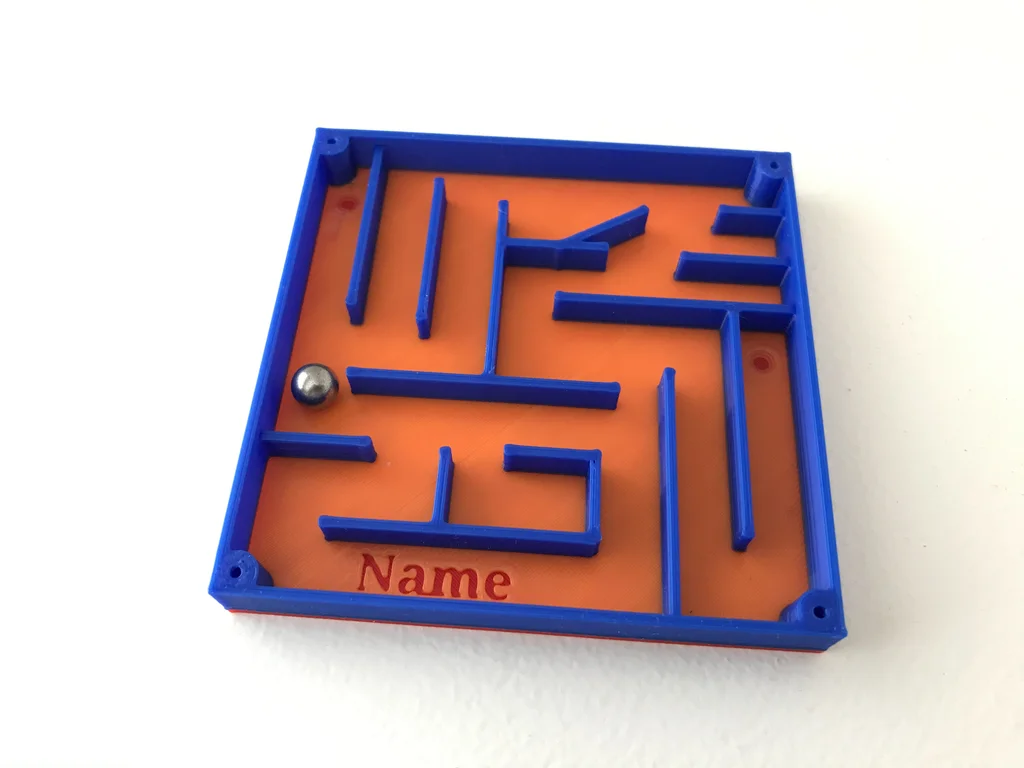
Design a maze: (Make sure student has thought through what will move through their maze (marble, ball bearing, 3D printed ball etc.)
https://www.youtube.com/watch?v=6lykslYF5Aw
https://www.instructables.com/Moving-Ball-Maze-Tinkercad-Student-Project/
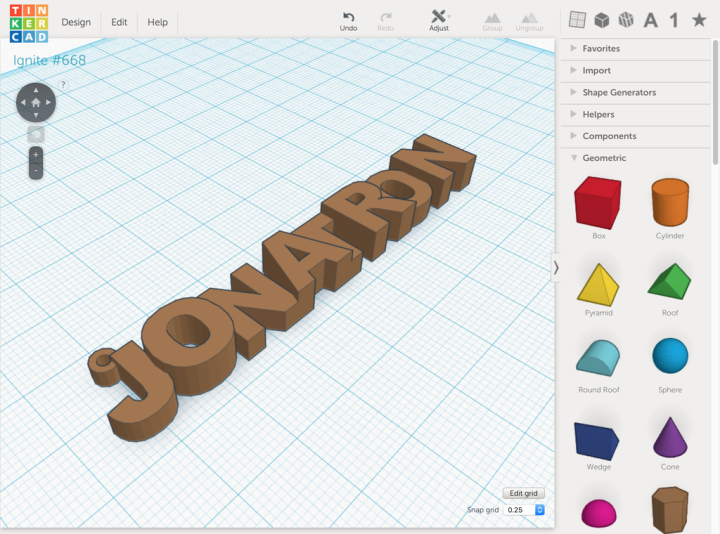
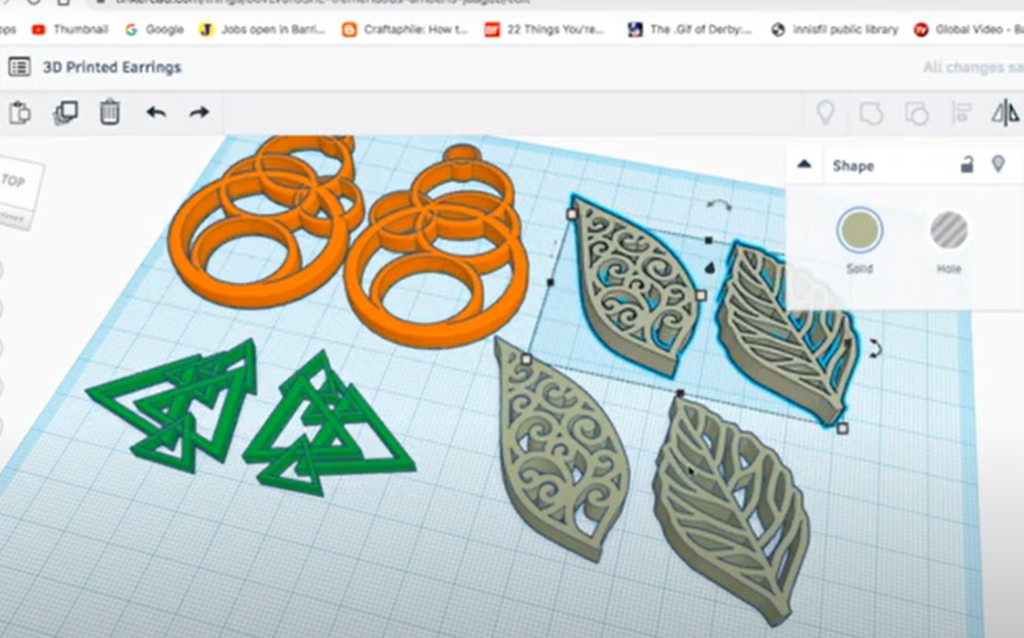
Design a piece of jewelry: (You need a way to check for sizes based on what you are making)
Ring Tutorial: https://www.youtube.com/watch?v=Np5CIz2bZcE
Other jewelry tutorials: https://silveryway.com/blogs/silveryway-blog/designing-your-own-jewelry-with-thinkercad
- You will need a digital 3D design file, if you used Tinkercad or something like it, an STL or OBJ file is the most common.
- Open your slicing software (like Makerbot Cloudprint) and import the 3D model. (open MakerBot CloudPrint™)
- Configure Print Settings: For your first print, you will probably want to use the default settings; the only setting to change is to turn off the raft.
- Position and Scale: Adjust the position and scale of your 3D model within the virtual print bed of the slicing software. Make sure it fits and is oriented correctly for printing.
- Slice the Model: Once you’re satisfied with the settings and positioning, click the “Export” button in the software. This process will convert your 3D model into a series of layers with specific instructions for the printer (also known as G-code).
If you want step-by-step instructions check out this PDF:
- Turn on your 3D printer and load the appropriate filament material into the printer.
- Transfer the sliced file to your 3D printer. Using a USB stick is a typical method.
- Use the printer’s interface to locate the file and start the print job. The printer will heat up, move its print head (extruder), and start laying down layers of material according to the G-code instructions.
- Monitor the Print: Keep an eye on the initial layers to ensure proper adhesion and that the print is proceeding smoothly. You will usually know right away if your print is not going to print correctly.
- Once the print is complete, let the printer cool down before removing the finished object from the print bed. Safely remove the finished print from the build plate.