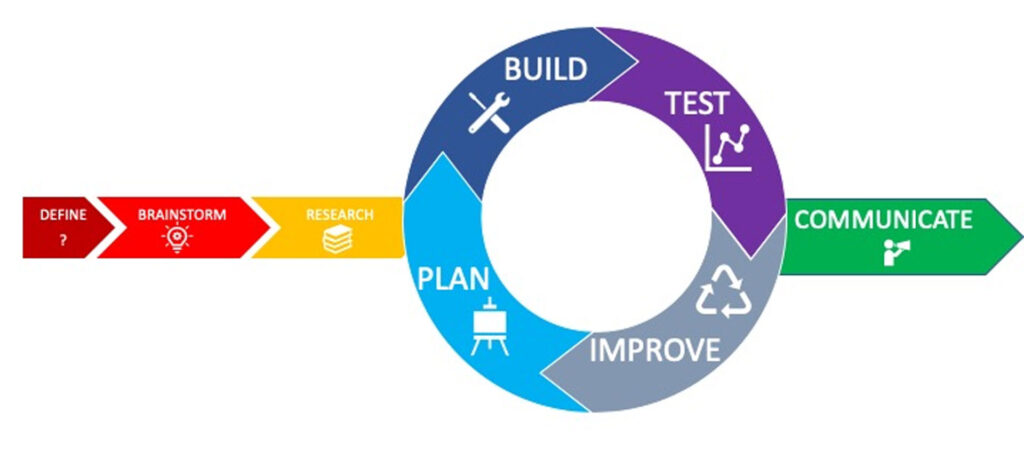
The engineering design process (EDP) is a series of steps that guides solving real-world problems. The EDP consists of the following steps: 1)Define the problem, 2) Brainstorm potential solutions, 3) Research solutions, 4) Plan, 5) Build, 6) Test, 7) Improve Solutions, and 8) Communicate results.
The design process is iterative, meaning that we repeat the steps as many times as needed, making improvements along the way as we learn from failure and uncover new design possibilities to arrive at great solutions.
EDP in Embedded Systems
The engineering design process is essential when creating an embedded system.
- Conceptualization and Brainstorming:
- Imagine you’re sitting in a room with a bunch of fellow engineers, sipping coffee, and brainstorming ideas. This is where it all begins! You think about creating something cool – maybe a smart wearable, an automated greenhouse, or a drone.
- Ask questions like: What problem will our gadget solve? How will it make life better? What features should it have?
- Requirements Gathering:
- Now, let’s get serious. You need to gather detailed requirements. Think of these as the “specs” for your gadget.
- Consider performance (how fast it should work), power constraints (how much juice it can consume), communication needs (Wi-Fi, Bluetooth, or other protocols), and any environmental limitations.
- Specification Document:
- Imagine you’re writing a technical manual for your gadget. Document everything – from the microcontroller you’ll use (the gadget’s brain) to the sensors (its eyes and ears).
- Include hardware specs (like memory, processing power, and interfaces) and software requirements (real-time operating systems, drivers, and communication protocols).
- User Interface Decisions:
- Does your gadget need a screen? If yes, what should it display? Maybe it’s a fitness tracker showing step counts or a weather station with colorful icons.
- Decide on the user experience – buttons, touchscreens, LEDs – and how your gadget will communicate with humans.
- Prototyping:
- Time to get your hands dirty! Build a prototype. Grab some breadboards, wires, and components. Create a mini version of your gadget.
- Test it out – does it blink when it’s supposed to? Does it beep when you press a button? Prototypes help you catch design flaws early.
- System Architecture Design:
- Imagine you’re the architect of a futuristic city. Sketch out the roads (communication paths), buildings (hardware components), and bridges (data flow).
- Define how everything connects – microcontrollers, sensors, actuators, and communication modules.
- Operating System Selection:
- Just like your laptop runs Windows, your gadget needs an OS too. Some gadgets use specialized real-time operating systems (RTOS) for quick responses.
- Choose wisely – Linux, custom firmware, or RTOS – based on your gadget’s needs.
- Hardware Components:
- Shopping time! Pick the right microcontroller (the gadget’s brain). Consider factors like processing speed, memory, and peripheral support (GPIO, UART, I2C).
- Also, choose sensors (temperature, motion, light) and other parts (LEDs, motors) that fit your design.