3D Printing: Slicing
Slicing – This is the second step in the 3D printing process. The 3D model that was created, needs to be prepared for 3D printing by creating a file that the 3D printer can read.

STL files are often what is imported into the slicing software. These are saved from the CAD (3D Model) file. In the slicing software, there are settings that can be controlled. Adjustment of these settings can give you a better 3D printing result. Some settings include layer height, speed, temperature, raft, and support. The slicing software also tells you how long your print will take, how much material will be used, and how many layers the print is.

Designs that have been sliced can be uploaded as files onto a flash drive. Using the flash drive with the file loaded, you can place this directly into the 3D printer and print directly.
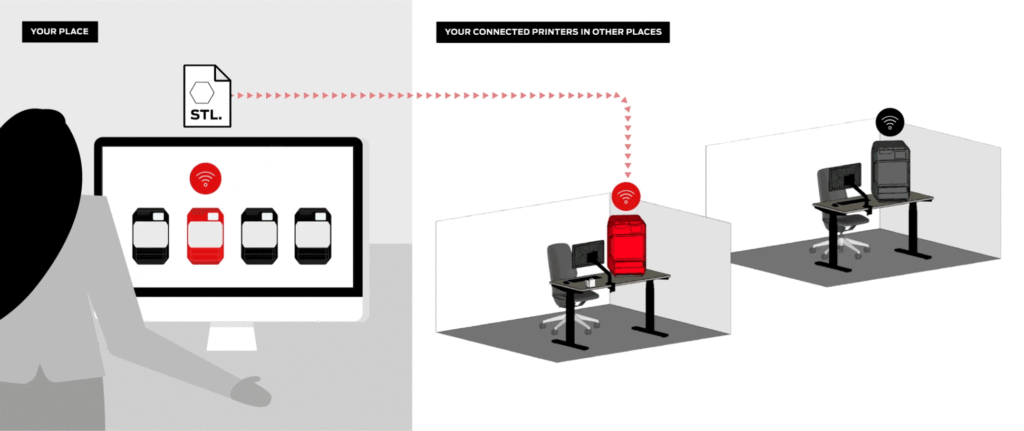
Another capability for the MakerBot is CloudPrint, which is a cloud-based slicing software. To CloudPrint on a MakerBot 3D printer, you can slice your files with this process from anywhere!
CloudPrint also allows remote job queuing and print process monitoring.

